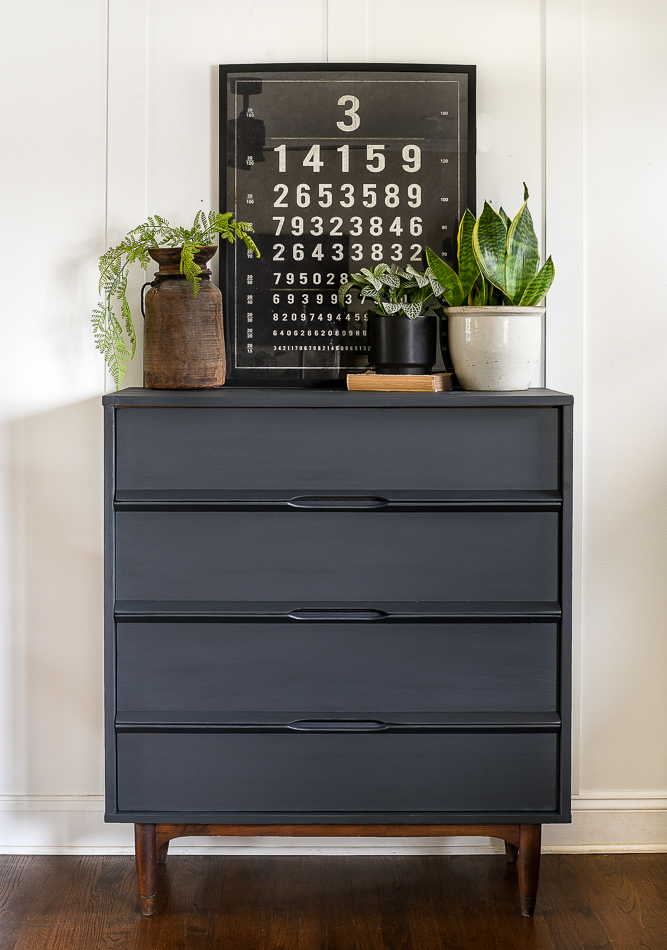
How to paint furniture. Everything you need to know to repair, prep, and paint furniture like a pro!
I've sanded, prepped, and painted furniture more times than I can count, so it's about time I share my favorite tips and tricks for painting wood furniture like a pro.
From the best wood filler for repairing old hardware holes to how to paint laminate furniture. I hope to answer all your basic furniture painting questions in this beginner's guide to painting furniture.
Some of you may be new to painting furniture, and others may be furniture painting pros. This furniture painting guide is for beginners, as I plan to cover just the basics of how to paint wood furniture.
SUPPLIES NEEDED TO PREP, REPAIR AND PAINT FURNITURE
Affiliate links have been used
NOTE: Your project may not require all supplies listed below. The type of paint you use and the surface you are painting over will determine the prep and finish materials needed.
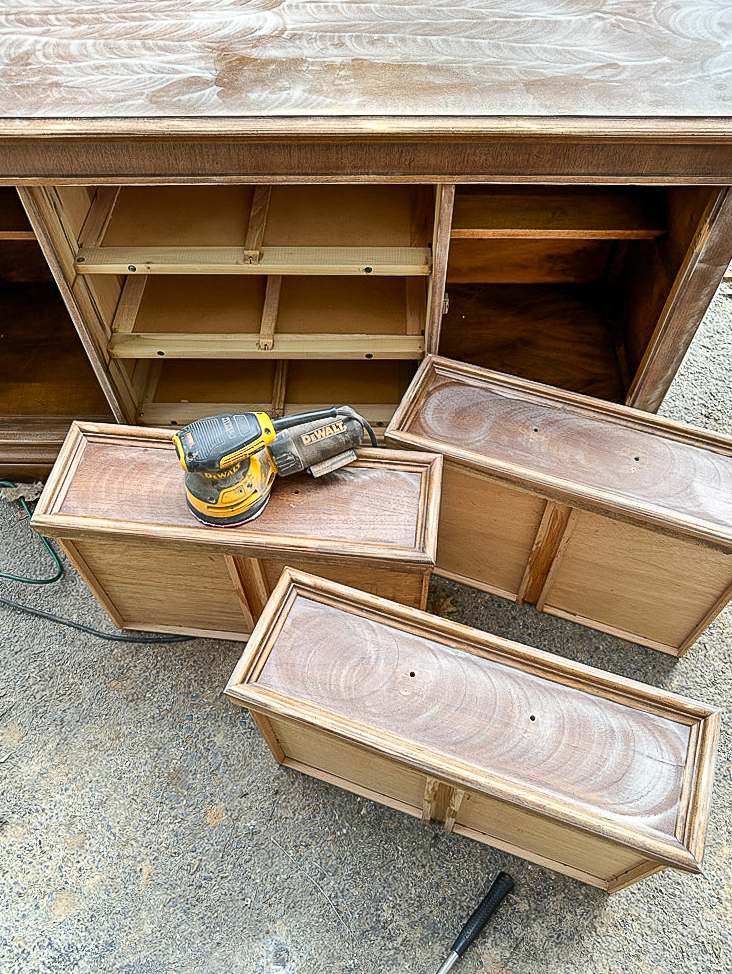
- Sander (I like my Dewalt Orbital and Ryobi Corner Cat sanders)
- Sanding pads (80, 120, and 320)
- Liquid sander glossier (if not using sandpaper)
- Medium and fine grit sandpaper
- Clean lint-free rags
- Putty knife (for applying wood filler)
- Wood glue (for repairing veneer and loose drawer joints)
- Long clamps (if drawer repairs need to be made)
- Good quality paintbrush (I like to use a 2 12" Purdy paintbrush)
- Furniture wax
- Zinsser shellac primer (if painting over laminate or dark stained wood)
- Milk paint, chalk paint, or other paint of choice
HOW TO PAINT WOOD FURNITURE
STEP ONE: MAKE REPAIRS
You may need to make repairs when buying and updating secondhand furniture. Whether it's repairing broken corners, removing or fixing damaged veneer, securing loose joints, or filling old hardware holes. Making repairs before you paint is crucial for achieving a clean and professional finish.
WHAT IS THE BEST WOOD FILLER?
If you're dealing with more substantial veneer damage, use a sharp chisel to remove the wood veneer completely. For more information, check out this post for tips on removing stubborn veneer.
HOW TO REPAIR DAMAGED DOVETAIL DRAWERS
I always look for solid wood pieces with dovetail drawers while looking for used furniture. Even though dovetail drawers are a higher quality way of making furniture, they can still come loose and need repairing. The good news is that damaged dovetail drawers can be fixed in a few simple steps.
ONE: Using a rubber mallet, gently tap the inside of the side of the drawer to loosen the drawer joints completely.
TWO: Apply wood glue along the dovetail joints.
FOUR: While the drawer is clamped tight, wipe around the inside and outside of the repaired joint to remove any access glue.
FIVE: Let dry a few hours, then remove clamps.
STEP TWO: SAND
Now that you have old hardware holes filled and any damage repaired, it's time to sand and prep for paint. Sanding furniture is my least favorite step, but the most crucial step for ensuring a good quality, long-lasting finish.For a non-messy alternative, a Liquid sander deglosser can be used instead of sandpaper to remove a glossy finish.
STEP THREE: CLEAN
I like to clean and remove sanding dust with Simple Green All Purpose Cleaner and a lint-free cloth. Tack cloths are also great for removing dust and fine particles from furniture.STEP FOUR: PRIME
It's not always necessary to prime furniture before painting, but there are certain instances that you need to use a good quality primer before painting.LAMINATE FURNITURE: A shellac primer is required to achieve the best coverage and adhesion when painting over laminate furniture. My favorite go-to primer is Zinsser BIN shellac primer. If you skip priming laminate furniture, you will end with chipping, flaking, and peeling paint.
DARK STAINED FURNITURE: Always use a primer when painting over dark stained wood, especially if using white or light colored paint. Otherwise, stain and wood tannins will bleed through, creating an uneven finish.
PAINTING FURNITURE WHITE: I always prime all furniture pieces that I paint white. White paint has less pigmentation than other paint colors and traditionally requires more coats. Priming first ensures that wood tannins won't bleed through and helps reduce the coats of paint needed for good coverage.
STEP FIVE: PAINT
There are a few options for applying paint to wood furniture. Paint can sprayed using a paint sprayer, rolled using a small foam roller, or brushed with a paint brush. I prefer a 2 1/2" Purdy paintbrush when painting wood furniture.
If using a paintbrush, it's important to apply thin coats in long even strokes (from left to right or vice versa) to reduce brush marks. Look for paint drips, especially around edges, and detailed carvings and spindles. I usually apply 2-3 coats of paint and lightly sand between coats, especially if using chalk paint.
My go-to water-based paint brands are General Finishes Milk Paint and Fusion Mineral Paint.
STEP SIX: SEAL & PROTECT
Once the last coat of paint has dried (I recommend waiting at least 24 hours), it's time to seal and protect your hard work with a top coat. Depending on the desired look and durability will depend on whether you use wax or clear polycrylic to protect your furniture. Let's break down the difference between wax and poly to help get a better understanding of the best product to use for your project.
Wax: Hardens and seals furniture leaving a gloss or smooth buff appearance.
Clear Water-Based Polycrylic: Clear, ultra-fast drying, and durable finish. It comes in many sheens including flat, matte, satin, semi-gloss, and gloss.
-WAX vs POLYCRYLIC
DURABILITY: Polycrylic hardens to a durable, wipeable finish and is ideal for high-traffic pieces. Wax is only a semi-permanent finish that is better suited for show pieces.
WEAR: Wax scratches and stains easily and will wear over time, whereas poly has a much harder finish and is scratch-resistant.
FINISH: You will get an even finish with both products. Polycrylic may leave brush strokes whereas wax will leave a buffed, smooth finish.
WIPEABLE: Polycrylic is easy to clean and can be wiped down without damaging the surface of your piece. Wiping furniture sealed with wax is more likely to damage the finish and remove the wax.
COST: Wax and polycrylic are comparable in price depending on the brand.
DRY TIME: Polycrylic will dry in a few hours whereas wax can take days to fully cure.
COLOR: Dark wax allows you to age a piece of furniture. A glaze must be used with polycrylic to get a similar look.
HOW TO APPLY DARK ANTIQUE WAX
You can apply wax over any paint and achieve various looks, from a smooth gloss finish to a distressed aged look. Using dark wax over clear wax is the best way to achieve an aged look and add character to pieces with carvings and unique details.
First, apply a layer of clear wax to your painted furniture using a wax brush or lint-free rag. Let the wax dry for a few minutes, and then buff out and wipe off any excess wax using a lint-free rag.
Apply dark antique wax over the clear wax using a different wax brush or lint-free cloth. Then blend the dark wax into any groves or molding using the same brush, rag, or 000 steel wool. This will give depth to your painted piece and allow details to pop.
If you add too much dark wax you can "erase" the wax by going over it with more clear wax.
No matter if you're a seasoned furniture painter or have never painted wooden furniture. Updating an old piece of furniture with paint is the simplest and most affordable way to give life back to damaged or dated furniture.
There's nothing more satisfying than finding an affordable used piece of furniture and turning it into something beautiful and perfect for your home.
Do you have any other furniture painting questions that I may have missed? I'd love to include them and answer any other questions you may have.


Amazing post! So great to have all this information in one place - thank you.
ReplyDeleteThis is some great information. Thank you!!! I've been wanting to try my hand at this, just haven't been able to bring myself to painting old furniture. I think I'm ready. Good instruction!!!
ReplyDeleteThank you, thank you, thank you. Love having the information in one post.
ReplyDeleteThank you!This is good information and much appreciated.
ReplyDelete