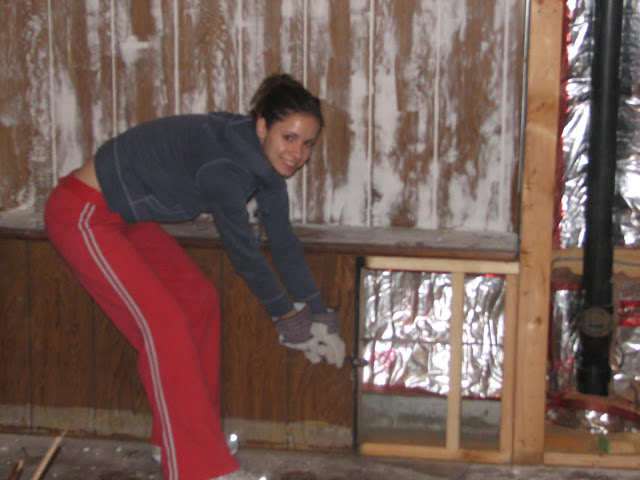
It's time for another basement makeover update! In case you missed it, the floor has been ordered, the plank wall is complete and now the mosaic subway tile backsplash is finished.
The sink from the original bathroom became the new location for the bar sink and new plumbing was ran for the bathroom.
Affiliate links have been provided for convenience. For more information, see my full disclosure here.
The bar area was built using inexpensive, unfinished wood cabinets that I stained with Minwax Ebony stain. The space was left incomplete for quite awhile until we saved up enough money for granite countertops.
I was happy with how everything turned out, but always wanted to add a white subway tile backsplash. Unfortunately, the space is a bit small for the classic 3x6 tiles, so I opted for a smaller mosaic version, which was perfect.
SUPPLIES NEEDED:
- Tile (I used these)
- Wet tile saw (we borrowed this one)
- Laser level (this will be your best friend!)
- Square notch trowel
- Rubber grout float
- SimpleSet Thin-Set
- Tile spacers
- Grout (I used Bright Snow White sanded grout)
- Tape measure
- Sponge
We were lucky enough to be able to borrow a wet saw from a friend, which cut down our costs of having to rent one. Trust me when I say, you don't have to spend a lot of money on an expensive wet saw. A smaller, less expensive version will do just fine.
Before I started adding tiles to the wall I measured my tile placement then laid everything out on the floor.
***TIP*** Don't forget to take into account grout lines when measuring. I made the mistake of measuring wrong and didn't realize it until I had already installed quite a bit of tile. I ended up ripping everything off the wall and starting over. Measure, measure, measure.
I found it easier to apply thin-set to the wall first then add my tile. You'll want to make sure you apply a generous amount of thin-set while holding your trowel at a 45 degree angle.
***TIP*** Press hard when applying your thin-set. The trowel's notch should be about equal to the thickness of your tile.
Cutting the tile was definitely a trial and error process for me. I must have ruined at least 4-5 tiles before figuring out how to make cuts without my tiles chipping. I found that moving the tile VERY slow at the end of the cut seemed to work as well as flipping the tile over and pushing it through from the other side.
I had a really hard time deciding what color grout to use. I love the look of white tiles and dark grout, but I had a feeling it would look too busy with the countertops. Ultimately, I went with sanded grout (used for joints over 1/8 inch) in snow white.
The grout is super easy to mix, simply add enough water to form a toothpaste like consistency then let it sit for about 10 minutes before applying it to your wall/floor.
I'm also thinking of adding a thin piece of stained wood under the cabinets to cover up the cheap unfinished look. See what I mean?


Wow! I only recently found your blog, but I'd be curious to know if you did the sheetrock, etc., yourself after you took down that dark paneling. Is there an earlier post about that? We have a similar situation at our current house.
ReplyDeleteIt looks SO awesome Katie! Just look how far you've come!!!
ReplyDeleteThank you for presenting your points and providing this information. I have learned something about this topic. tile cutter review
ReplyDelete