HOME TOUR
Shop The Store
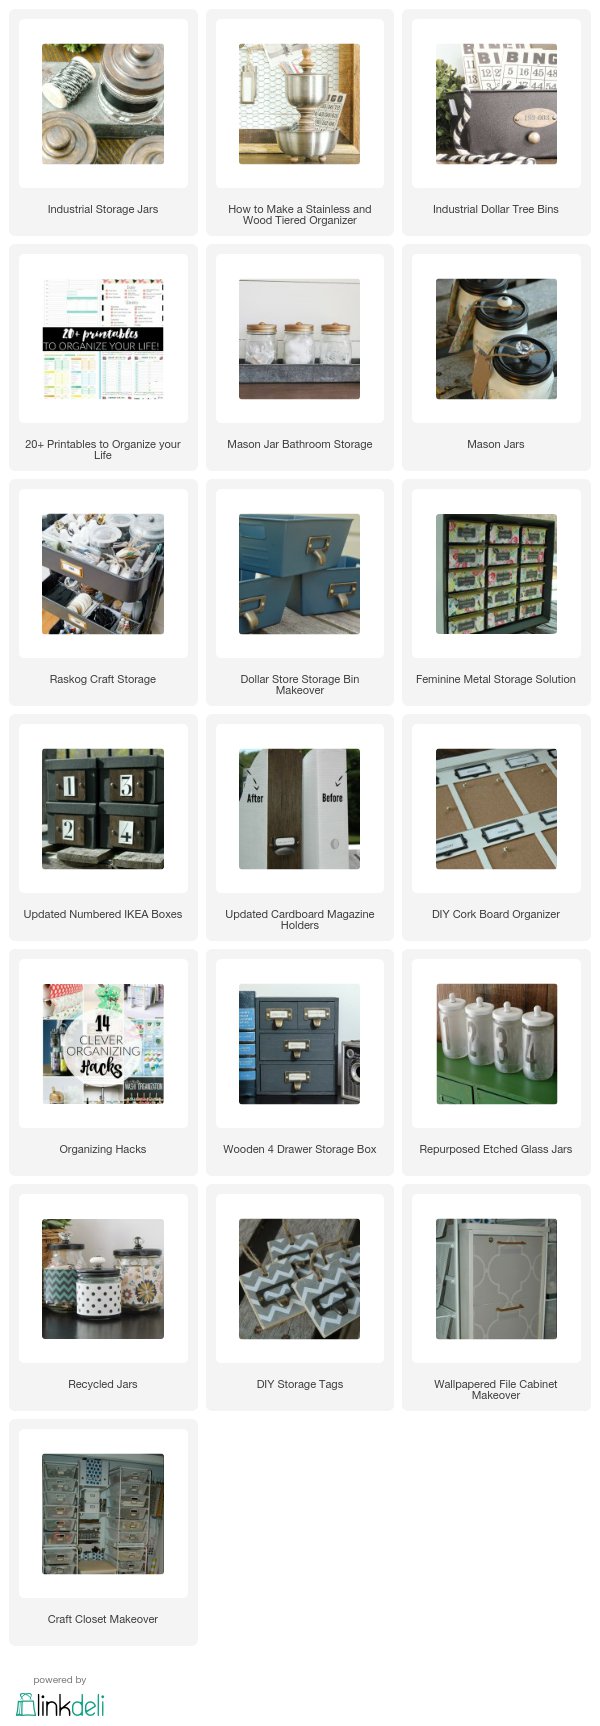
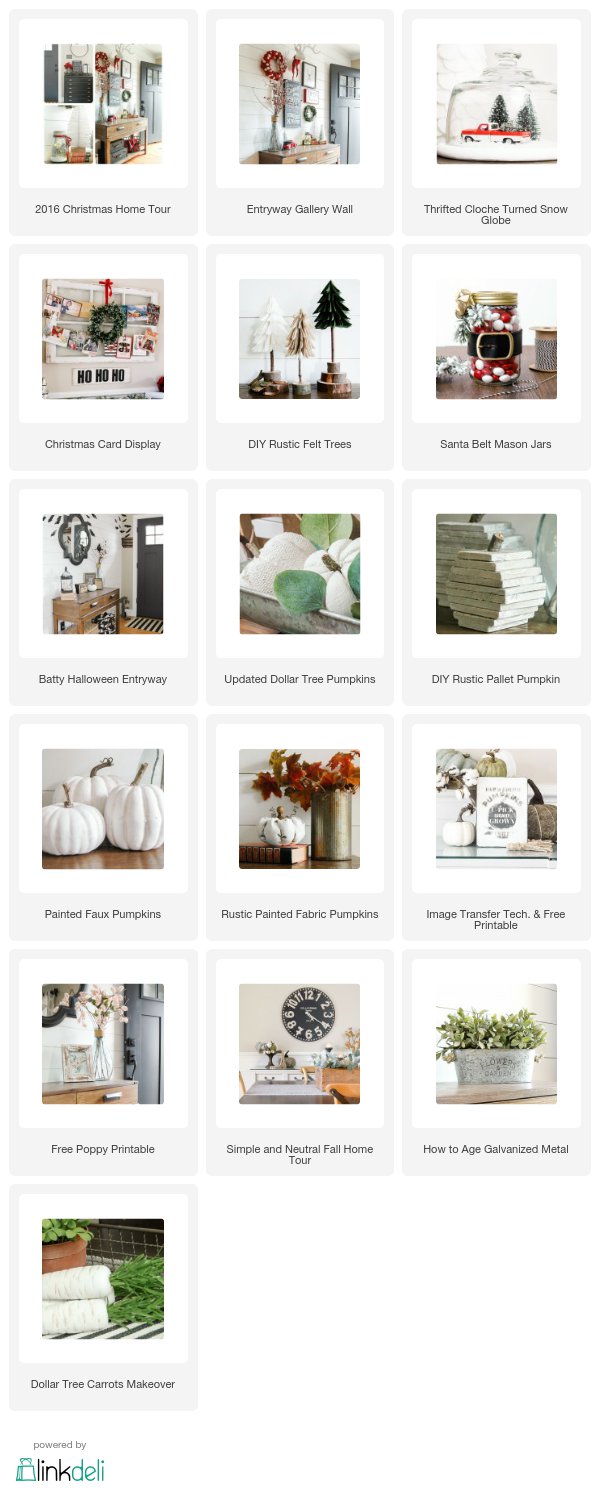
project gallery
dollar store diy
about me
Categories
Basement
Bathrooms
Before and After
Budget Decorating
Christmas Decor
Decor
Decorating Advice
Dining Room
DIY
DIY Crafts
Dollar Store
Fall Decorating
Fashion
Furniture Makeovers
Gift Guides
Halloween
Hallway
Inspiration
Kitchen
Let's Go Shopping
Let's Go Thrifting
Living Room
Master Bedroom
Mood Boards
Mudroom
Office
Organizing
Outdoor
Painting Tips
Pallet Projects
plants
Printables
Shopping Guides
Spring
Storage
Summer Decor
Thrifty Transformations
Tips and Tricks
Vintage decor
This blog post may contain affiliate links for your convenience.
PROJECT GALLERY
Welcome to my project gallery! I hope you'll find inspiration and ideas to help you decorate your home and create a beautiful space you love.
Would you like to comment?
Home
Subscribe to:
Posts (Atom)
About me
Hi, I'm Katie! An average girl who loves a good deal, transforming furniture, unique vintage finds and creating a beautiful home......one affordable DIY project at a time!
Popular Posts
Furniture Sanding 101: How to Sand Wood Furniture
The Best Tips For Running a Successful Vintage Booth
Big Impact, Low Budget Home Decorating Ideas
DIY: Antique Cast Iron Base Tabletop Trees
Contact Form
Name
Email
*
Message
*
I'm Loving
Archives
▼
2026
(11)
▼
July
(1)
The Best Tips For Running a Successful Vintage Booth
►
June
(1)
►
May
(1)
►
April
(2)
►
March
(2)
►
February
(1)
►
January
(3)
►
2025
(14)
►
November
(3)
►
October
(2)
►
August
(1)
►
July
(1)
►
May
(1)
►
April
(1)
►
March
(1)
►
February
(3)
►
January
(1)
►
2024
(26)
►
December
(1)
►
November
(5)
►
October
(1)
►
September
(3)
►
August
(2)
►
July
(1)
►
June
(2)
►
May
(2)
►
April
(3)
►
March
(1)
►
February
(2)
►
January
(3)
►
2023
(40)
►
December
(2)
►
November
(6)
►
October
(2)
►
September
(3)
►
August
(4)
►
July
(2)
►
June
(3)
►
May
(1)
►
April
(4)
►
March
(4)
►
February
(4)
►
January
(5)
►
2022
(56)
►
December
(5)
►
November
(11)
►
October
(2)
►
September
(3)
►
August
(4)
►
July
(5)
►
June
(7)
►
May
(3)
►
April
(5)
►
March
(3)
►
February
(4)
►
January
(4)
►
2021
(42)
►
December
(3)
►
November
(7)
►
October
(3)
►
September
(6)
►
August
(4)
►
July
(3)
►
June
(3)
►
May
(2)
►
April
(2)
►
March
(1)
►
February
(5)
►
January
(3)
►
2020
(31)
►
December
(5)
►
November
(5)
►
October
(2)
►
September
(1)
►
August
(2)
►
July
(2)
►
June
(1)
►
May
(4)
►
March
(2)
►
February
(5)
►
January
(2)
►
2019
(63)
►
December
(6)
►
November
(4)
►
October
(4)
►
September
(3)
►
August
(5)
►
July
(5)
►
June
(6)
►
May
(5)
►
April
(6)
►
March
(6)
►
February
(6)
►
January
(7)
►
2018
(94)
►
December
(4)
►
November
(9)
►
October
(8)
►
September
(7)
►
August
(6)
►
July
(8)
►
June
(8)
►
May
(8)
►
April
(8)
►
March
(8)
►
February
(9)
►
January
(11)
►
2017
(102)
►
December
(8)
►
November
(10)
►
October
(9)
►
September
(8)
►
August
(8)
►
July
(8)
►
June
(9)
►
May
(8)
►
April
(9)
►
March
(8)
►
February
(9)
►
January
(8)
►
2016
(90)
►
December
(6)
►
November
(5)
►
October
(6)
►
September
(9)
►
August
(8)
►
July
(7)
►
June
(7)
►
May
(10)
►
April
(8)
►
March
(6)
►
February
(7)
►
January
(11)
►
2015
(77)
►
December
(10)
►
November
(5)
►
October
(8)
►
September
(7)
►
August
(7)
►
July
(6)
►
June
(7)
►
May
(5)
►
April
(6)
►
March
(3)
►
February
(9)
►
January
(4)
►
2014
(29)
►
December
(3)
►
November
(2)
►
October
(4)
►
September
(2)
►
August
(3)
►
July
(3)
►
June
(5)
►
May
(2)
►
April
(1)
►
February
(3)
►
January
(1)
►
2013
(2)
►
December
(1)
►
October
(1)
About Me
Balkeni Studio
Katie @ Little House of Four
Little House of Four
Powered by
Blogger
.
Copyright
Little House of Four - Creating a beautiful home, one thrifty project at a time.
. Design by
Balkeni Studio
. Development by
TBK
.


Would you like to comment?